How to Configure DNS Settings (WHM)
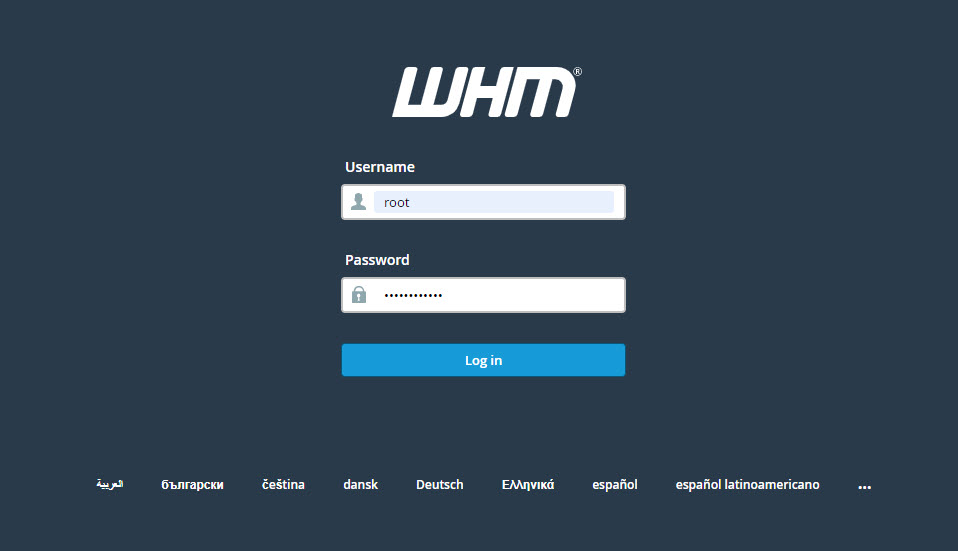
- Sign in to the WHM control panel at https://your-domain.com:2087 or https://IP-address: 2087 or https://server-hostname: 2087.
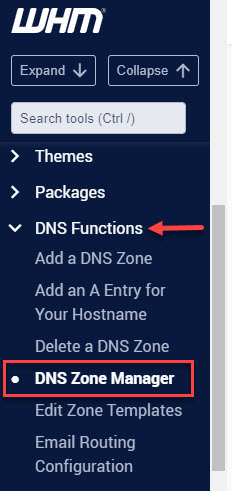
- Under the DNS Functions, select DNS Zone Manager.
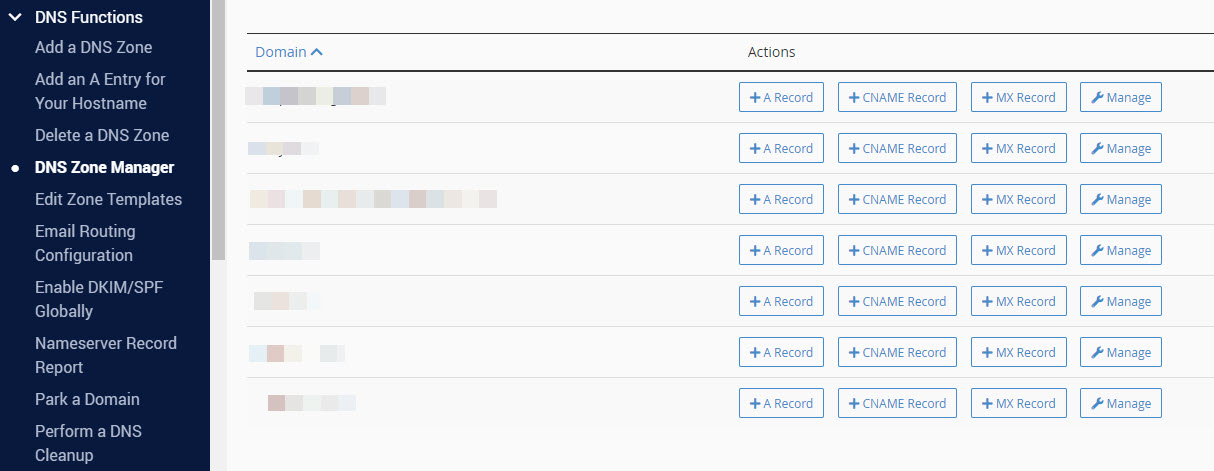
- On the DNS Zone Manager interface, you will find a list of hosted domain names for which you can manage DNS records. You will also have access to shortcuts for adding certain entries (A, CNAME, MX, and DNSSEC).
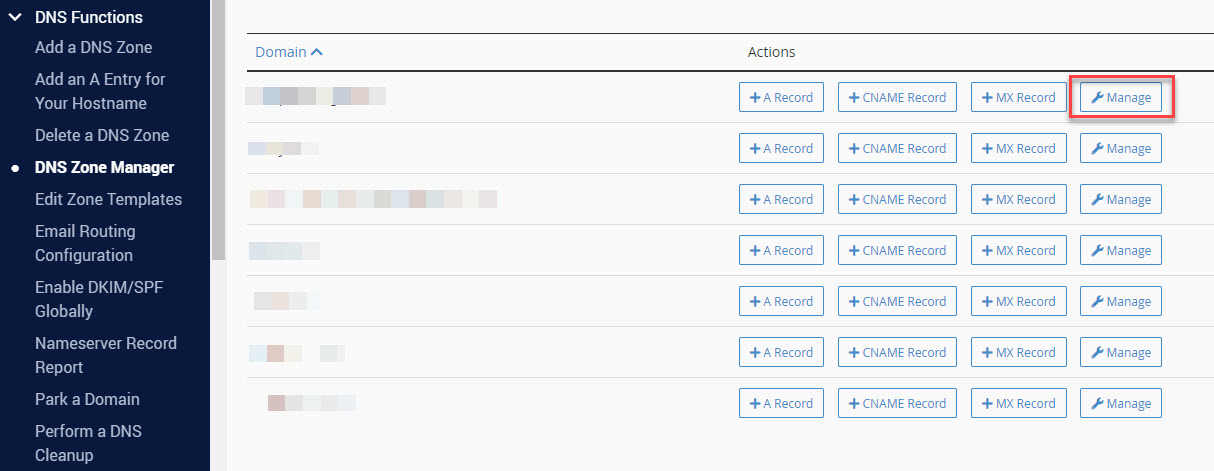
- To manage the DNS records for a specific domain, click Manage.
Edit Existing DNS
- Select a domain you want to configure in the DNS Zone Manager, then click Manage.
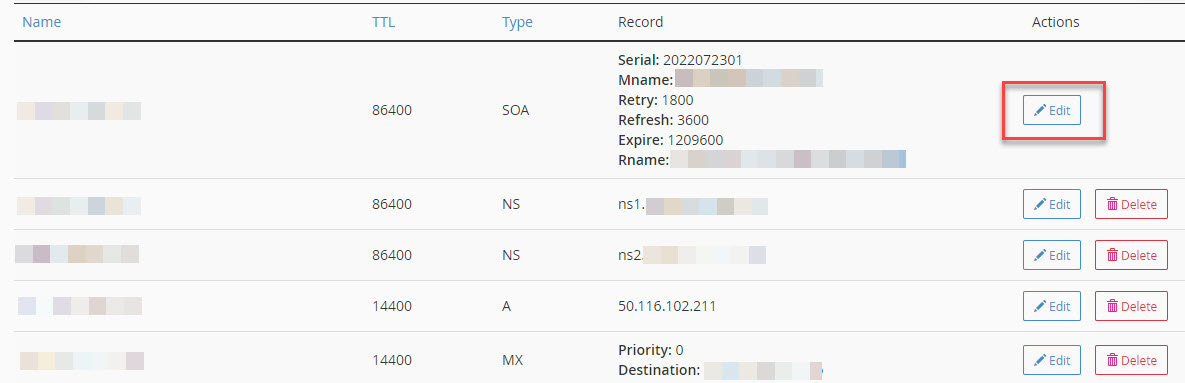
- To edit available DNS records, select a particular DNS record, then click Edit, then Save once done.
Add New DNS Record
- In the DNS Zone Manager, select a specific domain you want to configure, then click Manage.
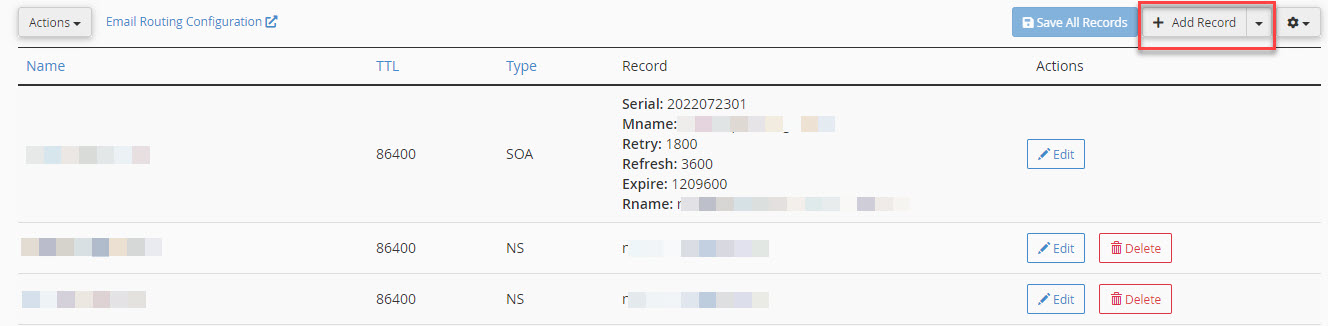
- Click + Add Record at the top right corner.
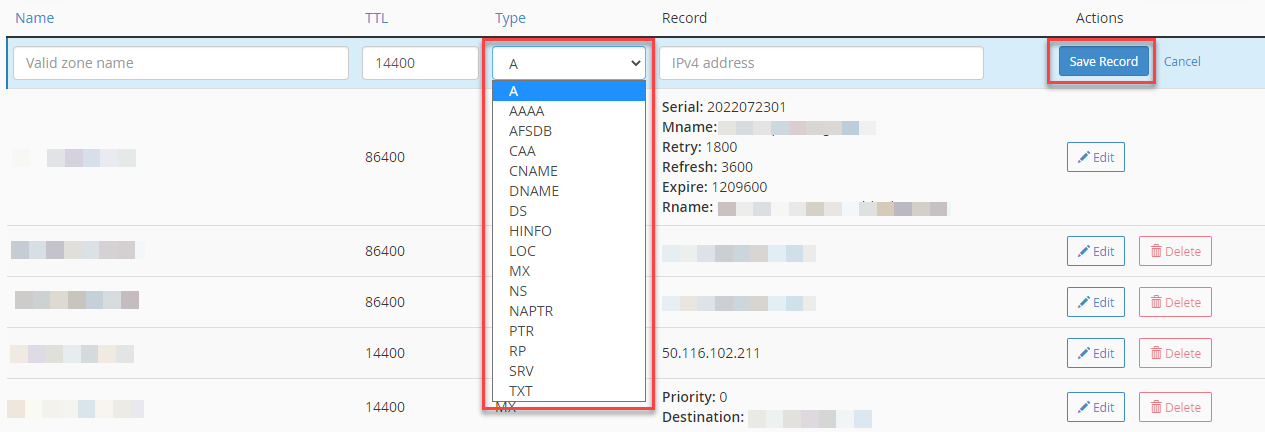
- Select the Record Type, enter the record values, then click on Save Record.
Please rate this article to help us improve our Knowledge Base.
